Selling at the counter (retail sale flow)
How to complete a sale end-to-end in the POS — from adding products to the cart to handing over the receipt.
Updated: April 5, 2026
A POS sale always follows the same flow: add products → assign customer (optional) → charge → print receipt. The whole thing should take less than 30 seconds.
Before you start
Verify that:
- Your shift is open (if not, the register will prompt automatically).
- The POS warehouse has stock for the products you’ll sell.
- You signed in with your PIN (the sale is recorded under your name).
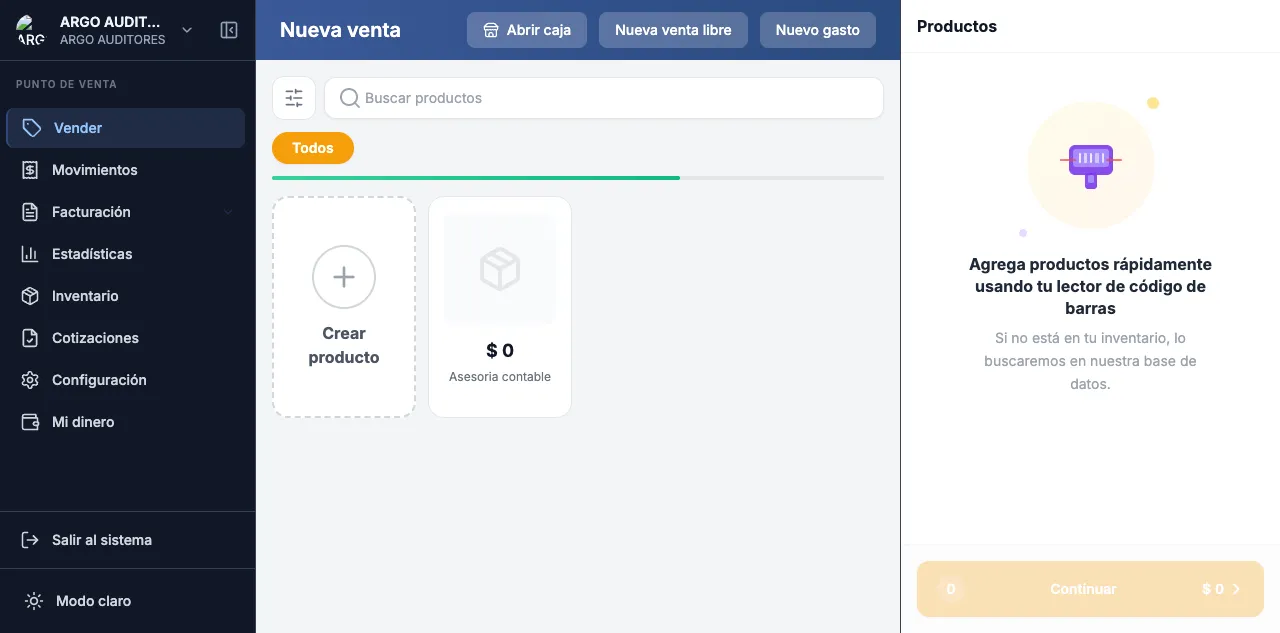
Step 1: Add products to the cart
You have three ways to add products:
- Visual catalog: categories appear as chips at the top. Tap to filter, then tap the product to add.
- Search: type the name, code or SKU in the top bar. Live results. Tap one to add.
- Barcode scanner: if you have a scanner connected, just scan the product code.
Every time you add a product, it appears in the cart on the right with quantity 1. To increase quantity, tap the product again or use the + / - buttons in the cart.
Inline price edit: if you have permission, you can tap a cart line’s price and modify it. This is recorded as a manual discount tied to your user.
Step 2: Assign customer (optional)
If the sale is for an identified customer —e.g. to apply a special price list or because they want their invoice— tap the Customer button in the cart.
- Search by name or document.
- If they don’t exist, create them on the spot via + New customer.
- When selected, the POS automatically applies the customer’s price list and recalculates the cart.
If you don’t assign a customer, the sale is recorded as End consumer and applies standard prices.
Step 3: Charge
When ready, tap Charge (or press F2).
- The POS shows the total to charge.
- Pick the payment method (cash, card, transfer).
- For cash, enter the amount received and the system computes change.
- You can combine methods (e.g. part cash, part card) by tapping Add another payment.
- Tap Confirm payment.
The sale processes, draws inventory, generates the journal entry and emits the DIAN equivalent document if enabled.
Step 4: Hand over the receipt
After payment, the POS shows a confirmation screen with three options:
- Print the receipt on the thermal printer.
- Send via WhatsApp if you captured the customer’s phone.
- New sale to clear the cart and serve the next customer.
The receipt is always saved in the system and can be reprinted from Sales → POS receipts no matter how much time has passed.
Common errors
- “Out of stock”: the product has no available units in the POS warehouse. Load stock from Inventory or switch warehouses.
- “Register closed”: someone closed the shift. Open a new one from the register menu.
- “Invalid PIN”: check that the cashier is registered in Settings → POS staff.